
One of the most useful features of WIM technology is the ability to stage multiple images within a single wim file.
To do this, I am going to be working with 2 images,
The first image named “WIN10PRO86” and contained an image of “Windows 10 Pro Edition x86”
and the second image is “AIO” will contained multiple images combined together, and i’ll going to merge Image “WIN10PRO86” into Image “AIO”:
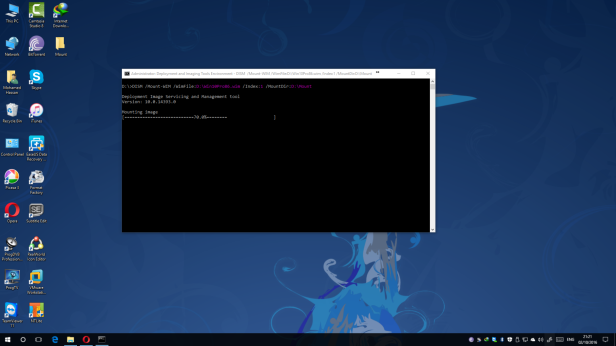
First off, we need to mount Image “WIN10PRO86”
DISM /Mount-WIM /WimFile:D:\WIN10PRO86.wim /INDEX:1 /MountDir:D:\Mount
Second stage, I’ll append Image “WIN10PRO86” to Image “AIO”
ImageX /Append D:\MOUNT D:\AIO.wim "Image Name" "Image Description"
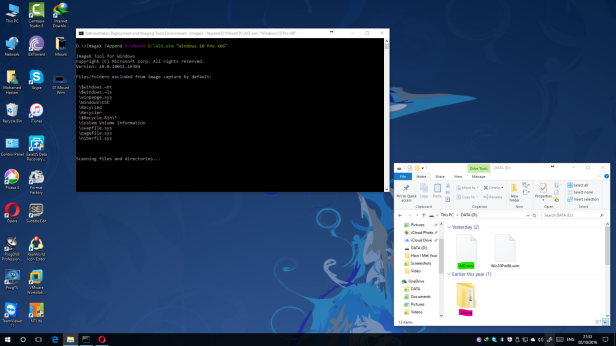
This will now append the two Images together giving Image “WIN10PRO86” and index it a number after the last index on the Image “AIO”, for example. if i have 5 image in the WIM “AIO”, this mean that Image “WIN10PRO86” will have index of 6
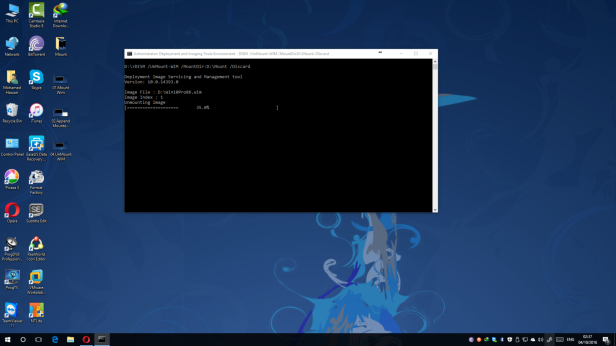
Third: Once the process has completed, you need to unmount Image “WIN10PRO86”
DISM /Unmount-WIM /MountDir:D:\Mount /Discard
To verify the changes, you can run the following command:
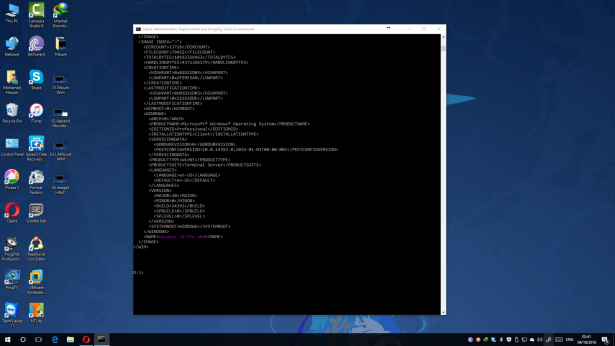
DISM /Get-WimInfo /WimFile:D:\AIO.wim
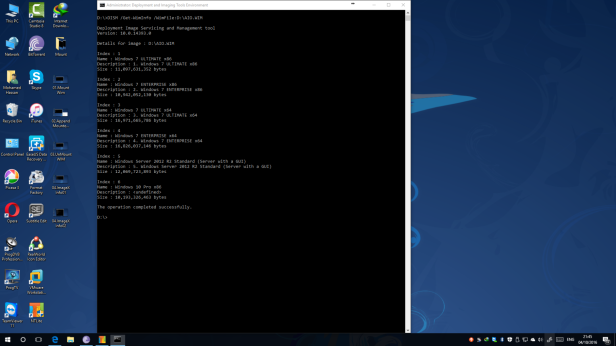
or using the ImageX command as following
ImagX /Info AIO.wim
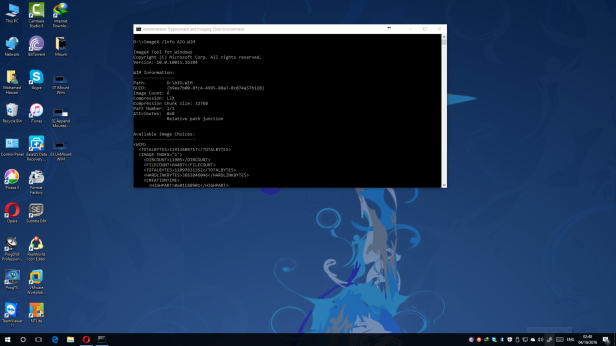
and you can change the name and description of any image on the WIM file using the following command
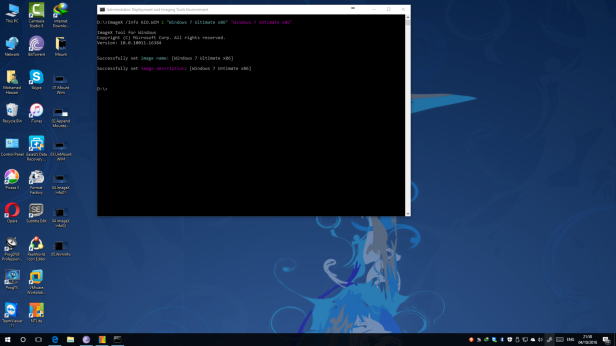
ImageX /Info {WimFile} {IndexNumberOfImage} "{Name}" "{Description}"
for Example
ImageX /Info AIO.WIM 1 "Windows 7 Ultimate x86" "Windows 7 Ultimate x86"
Also you can Export an Image from WIM file to another WIM file using the following command
ImageX /Export D:\source.wim <imageindex> D:\Destination.wim "<ImageName>"
for Example
ImageX /Export D:\2008.wim 1 D:\AIO.wim "Windows Server 2008 R2 Standard"
For more about DISM CLICK HERE
and for more about ImageX Command-Line Options CLICK HERE
+
